.png)

The Complete Guide to Migrating from WordPress to Webflow (Without Losing SEO)
A complete guide to moving your site from WordPress to Webflow—safely and without losing SEO. Includes practical steps, tools, and expert tips.

If you’ve been running your business website on WordPress, chances are you’ve dealt with plugin bloat, slow load times, and the constant need for updates. And while WordPress is still the world’s most popular CMS, more businesses in 2025 are making the switch to Webflow—a faster, more secure, and design-flexible platform built for modern teams.
But here’s the challenge: how do you migrate your WordPress website to Webflow without losing SEO?
This guide walks you through a safe, step-by-step migration plan that preserves your traffic, improves performance, and sets you up for long-term growth.
Why Migrate from WordPress to Webflow?
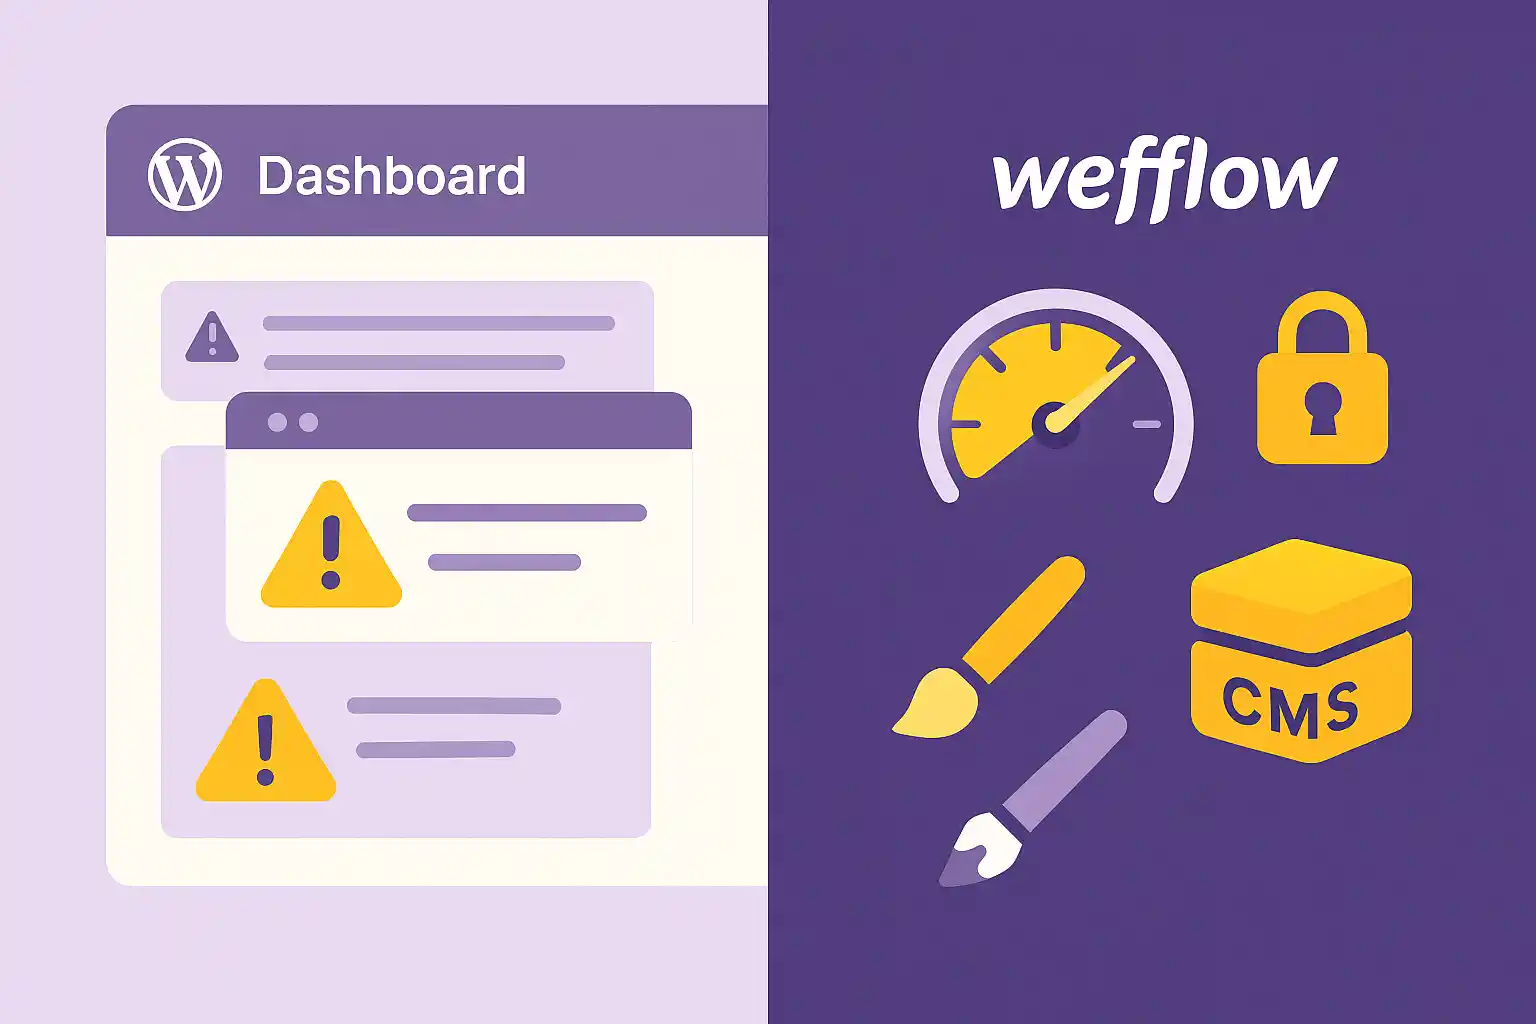
Before we dive into the how, let’s address the why. Here’s why so many brands are moving away from WordPress in favor of Webflow:
- No plugins needed: Webflow handles SEO, performance, forms, and design—natively.
- Speed: Webflow sites load faster out of the box with global CDN hosting and clean code.
- Security: No need for third-party security plugins or manual patches.
- Visual design: Webflow gives you complete control over layout and branding.
- Scalability: Built-in CMS that’s flexible, fast, and easy for teams to manage.
If you want more on the platform’s capabilities, check out Why Webflow Is the Best Platform for Fast, Scalable Business Websites in 2025.
Step 1: Audit Your WordPress Website
Before migrating anything, you need a complete picture of your current site. Use a tool like Screaming Frog, Ahrefs, or SEMRush to export:
- All URLs
- Page titles and meta descriptions
- Image alt text
- Blog content
- Redirects
- Canonical tags
- Structured data (schema)
- Internal linking structure
Also take note of your top-performing pages by traffic and conversions. These should be your top priority during the rebuild.
Step 2: Map Your URL Structure
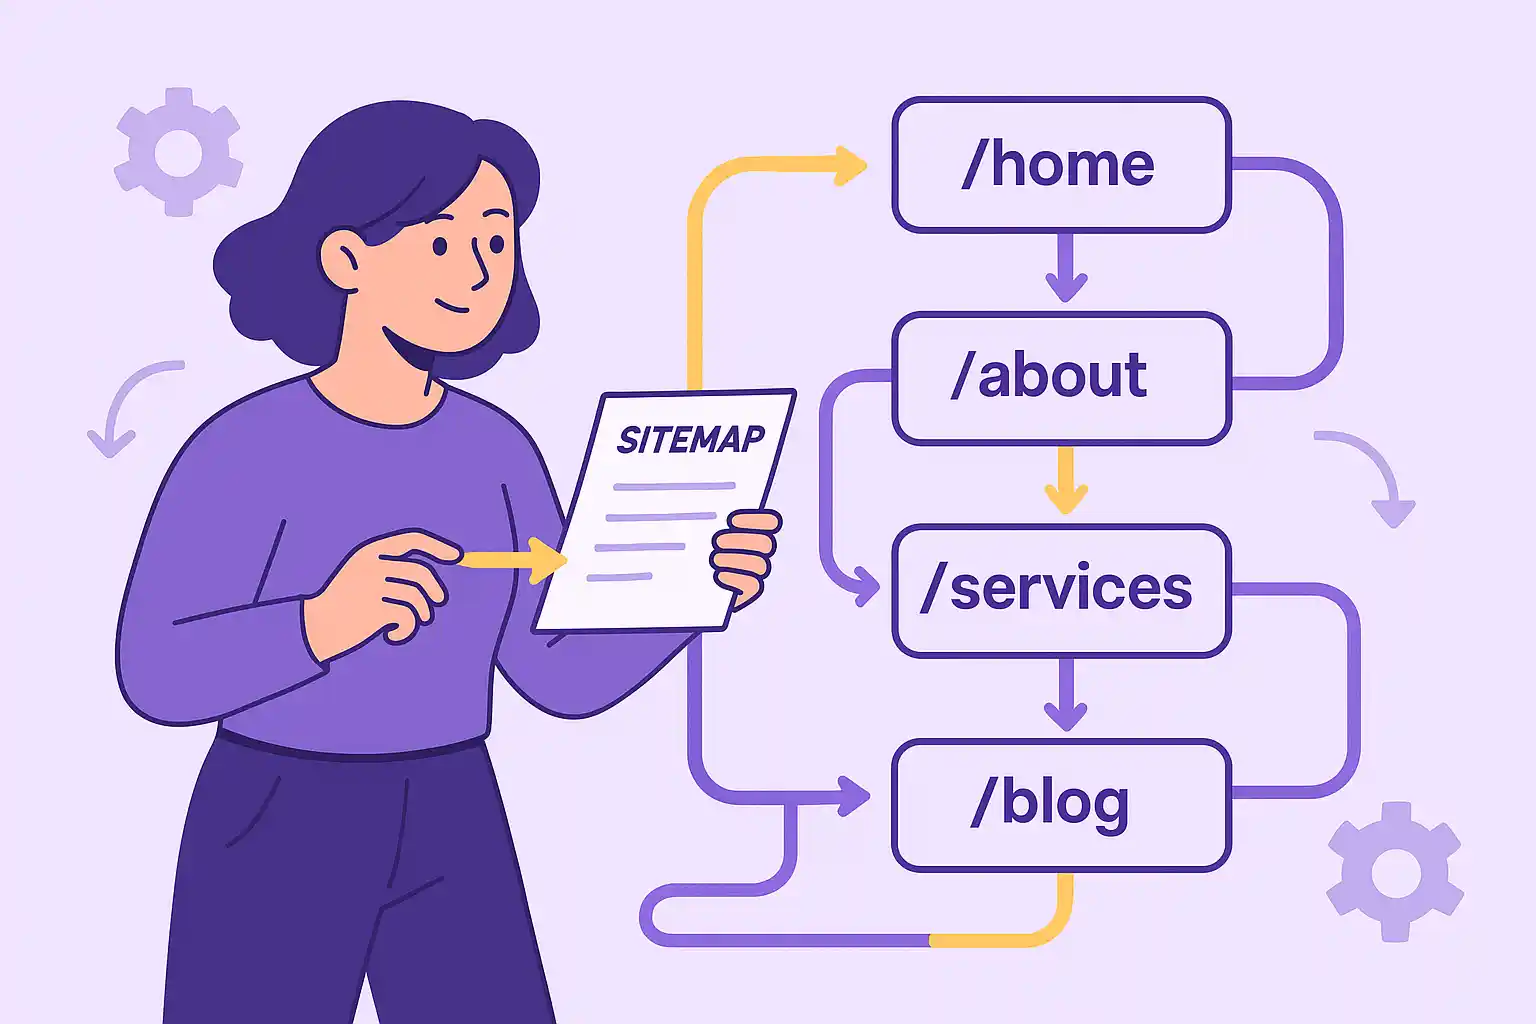
Webflow allows you to fully control your URL paths. To avoid SEO drops, aim to mirror your existing structure exactly—or implement proper redirects.
Common pitfalls:
- Changing slug names (e.g.
/about-usto/about) without a 301 redirect - Removing important subdirectories
- Forgetting to preserve blog slugs
If you are planning a website restructure as part of the redesign, make sure to do it strategically and not all at once.
Step 3: Set Up Your Webflow Project

Now it's time to prep your Webflow site for migration. Start by:
- Creating CMS Collections that reflect your existing content structure (e.g. blog, case studies, team members)
- Defining global styles: headings, paragraphs, buttons, etc.
- Setting up a page framework using the Client-First naming system to keep your project scalable
- Rebuilding your page layouts in Webflow Designer using your existing content
Want tips on structuring your content for conversions? Read How to Plan and Structure a High-Converting Website in 2025.
Step 4: Import Content & CMS Items
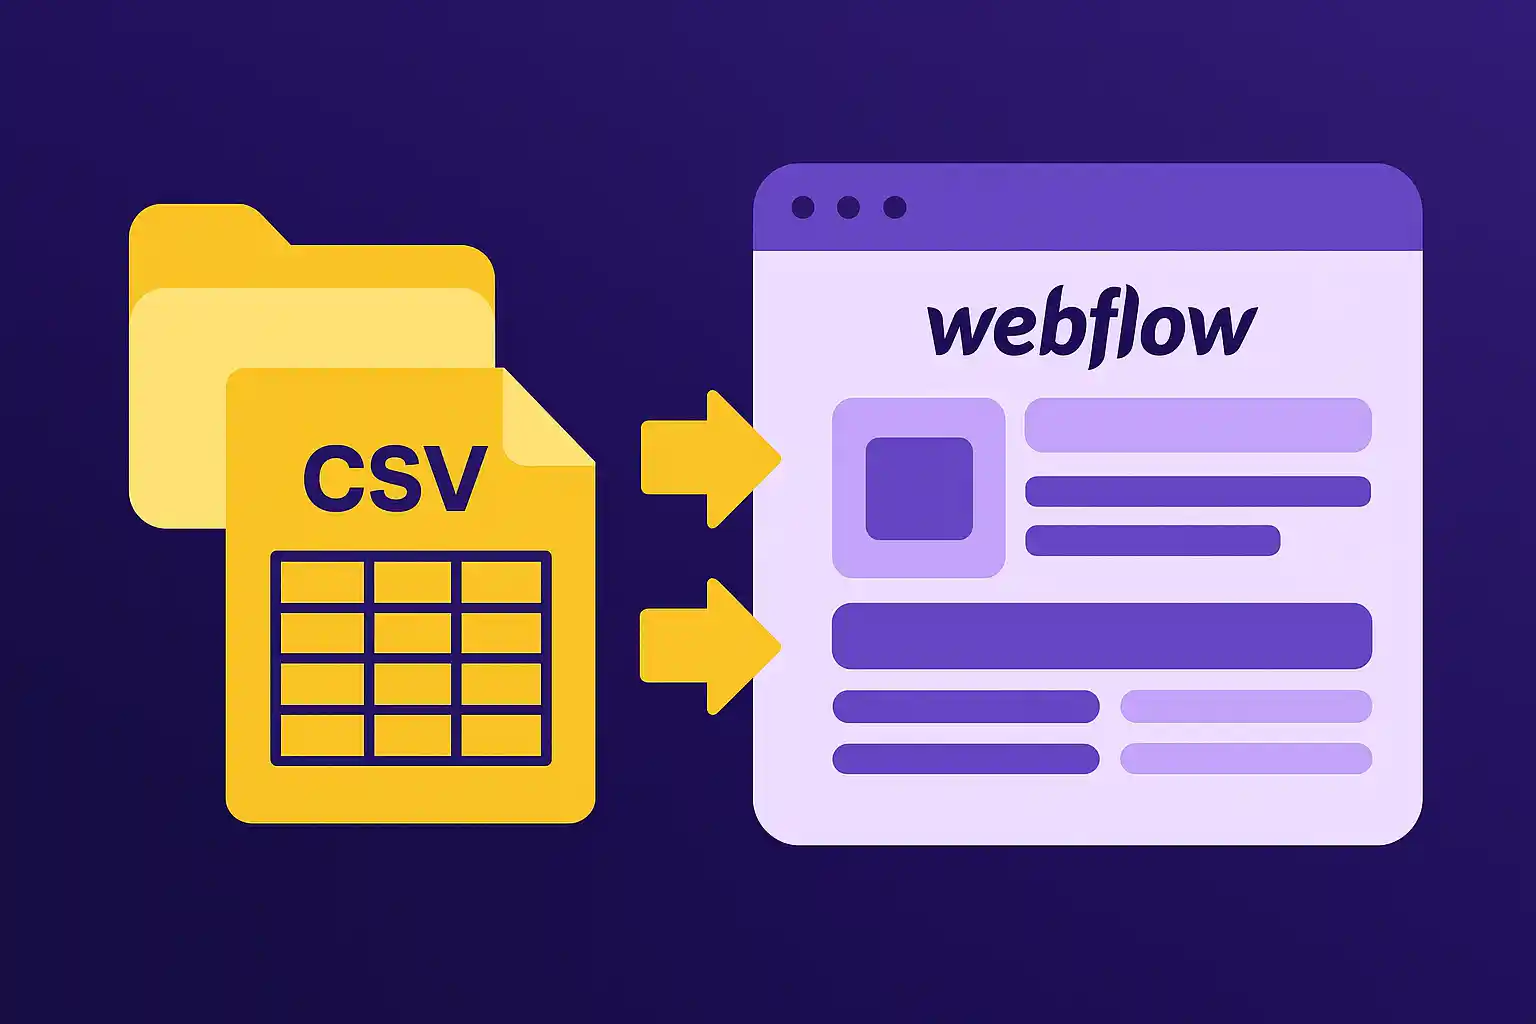
You can migrate content manually or use tools like Udesly or CSV imports for the blog and other dynamic sections.
- Export your WordPress blog posts to a CSV
- Clean and reformat the fields to match your Webflow CMS structure
- Import into Webflow using the CMS import tool
- Manually upload images to the Webflow Asset Manager and relink where needed
This is also a great time to optimize your content: rewrite titles, compress images, add better alt text, and improve keyword use.
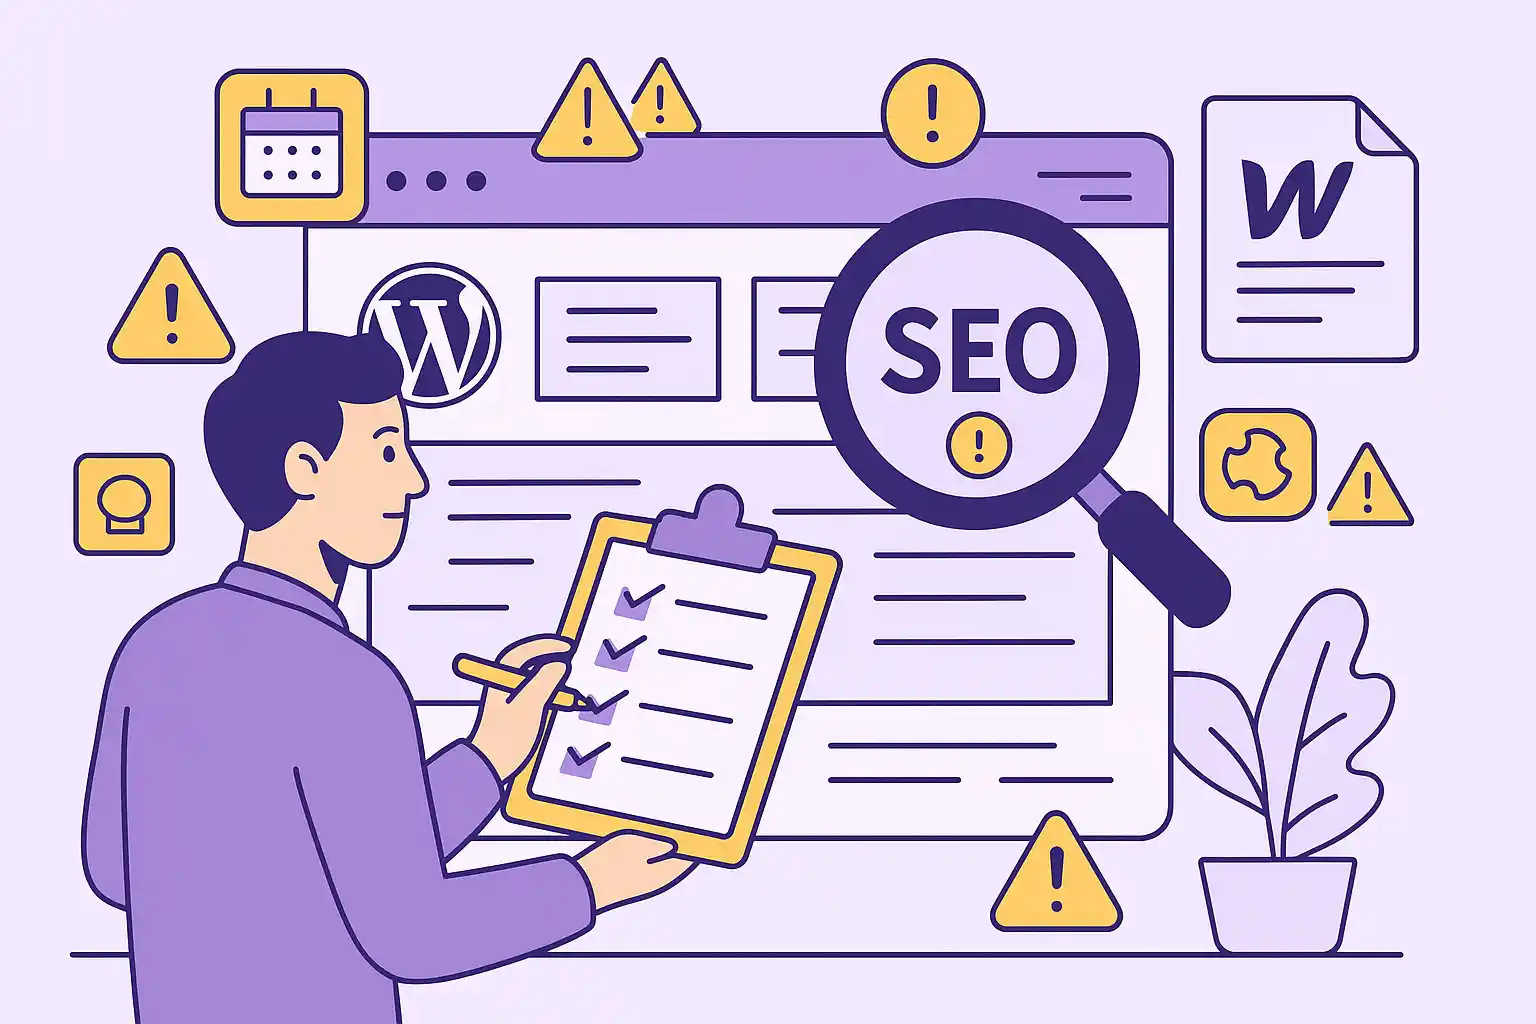
Step 5: Rebuild Your SEO Settings
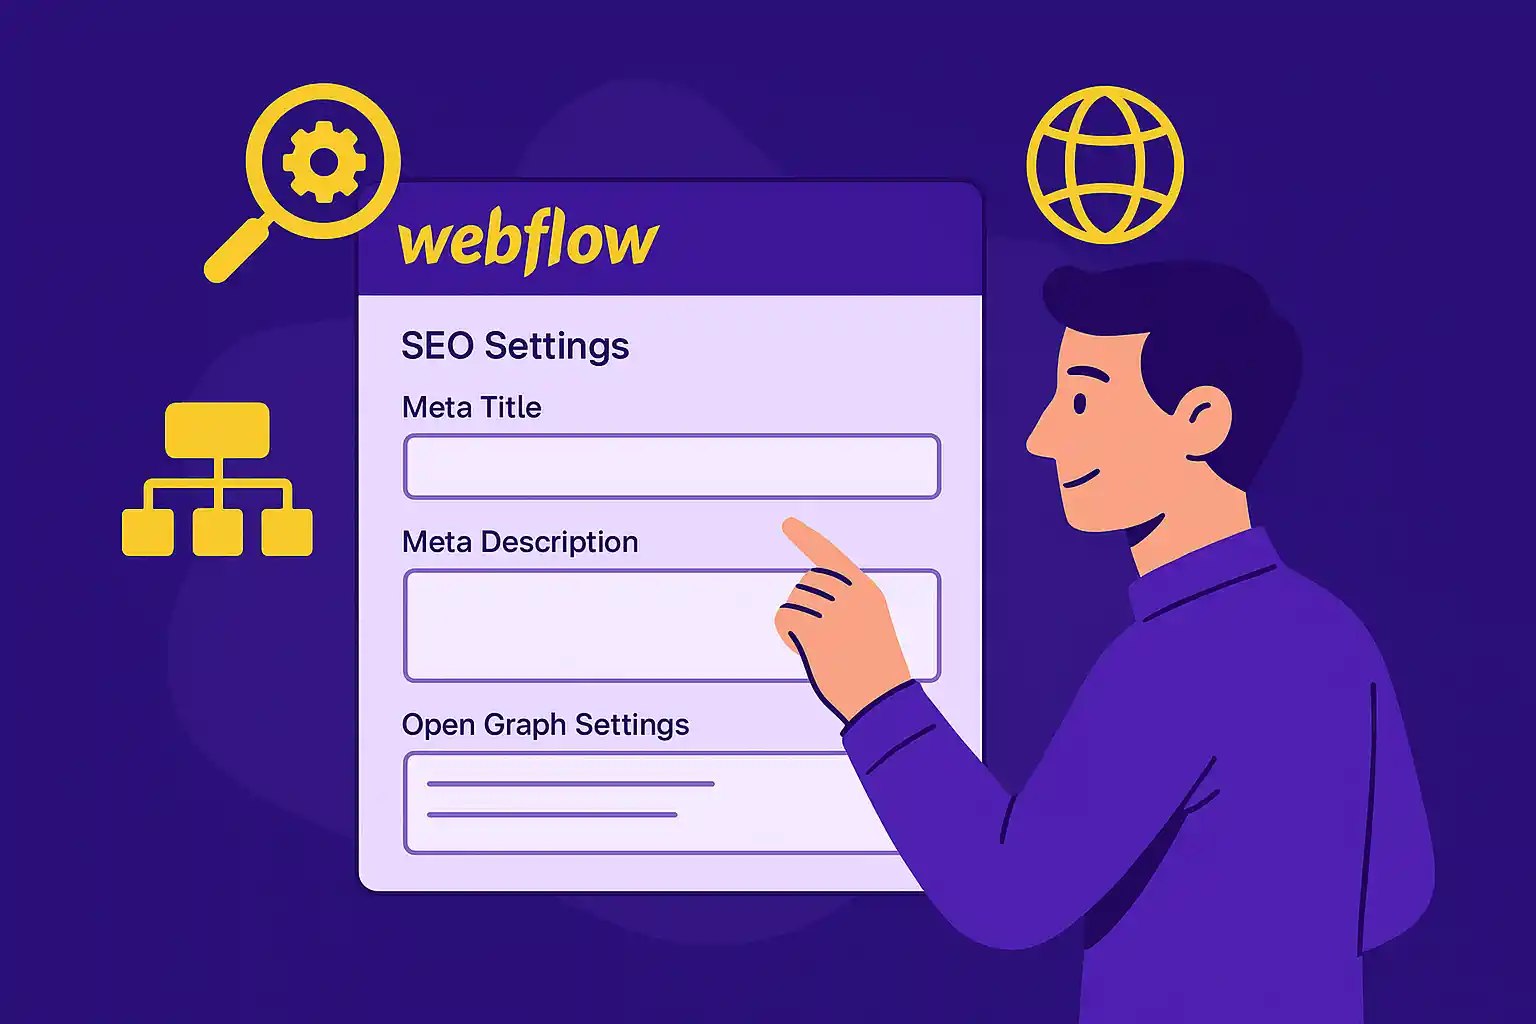
Webflow gives you full control over on-page SEO, so now’s the time to optimize. For each page:
- Set meta title and description
- Customize Open Graph tags
- Add proper heading hierarchy (H1 > H2 > H3)
- Include descriptive, keyword-rich alt text for all images
- Ensure canonical tags are properly configured
You can also create a robots.txt file and connect your Google Search Console for better indexability.
Looking to improve rankings further? Don’t miss our Real Cost of Bad Webflow Development (And How to Avoid It).
Step 6: Set Up 301 Redirects
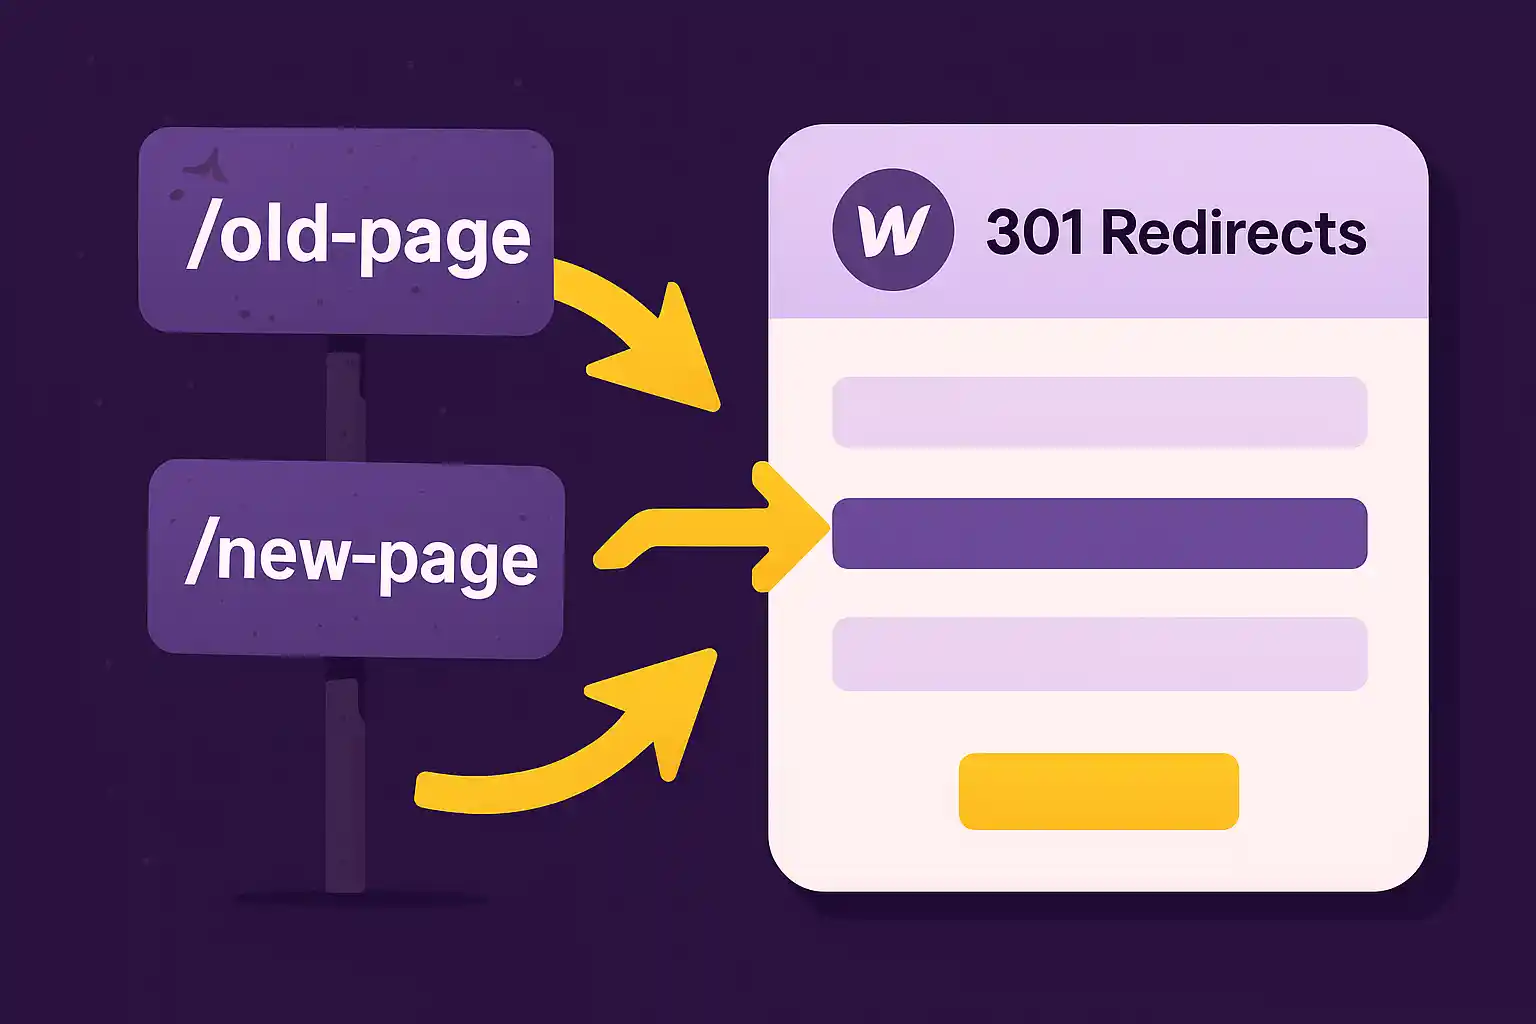
This step is crucial to maintaining your SEO authority.
- Create a spreadsheet of your old URLs vs. your new Webflow URLs
- In Webflow’s “Publishing Settings,” add each redirect line using the format:
/old-url → /new-url
- Test them using tools like httpstatus.io before launch
Failing to redirect pages properly is the most common cause of SEO traffic loss during a migration.
Step 7: Test Everything Before You Launch

Before pushing your new site live, test the following:
- ✅ All page links and slugs
- ✅ CMS entries and dynamic filters
- ✅ Forms and submissions
- ✅ Image loading and alt text
- ✅ Site speed (use Google Lighthouse or PageSpeed Insights)
- ✅ SEO metadata for each page
- ✅ 301 redirects
- ✅ Mobile responsiveness
You can also use Webflow’s preview share link to collect feedback before going live.
Step 8: Go Live and Monitor

When everything looks good, publish your Webflow site and point your domain to the new hosting.
Immediately after launch:
- Submit your new sitemap to Google Search Console
- Monitor your indexed pages
- Track keyword rankings and organic traffic
- Fix any crawl errors or broken links quickly
Within a few days, you should start seeing the positive impact of better performance and structured content.
Bonus: Going Beyond Static Sites

While Webflow handles the front end beautifully, you can go even further by integrating with tools like:
- Make.com for automation
- Airtable for external content management
- Next.js for custom backend logic
If you're migrating to Webflow but still need dynamic backend functionality, you'll love our Expert Guide to Building Scalable Web Apps with Webflow & Next.js.
Final Thoughts
Migrating from WordPress to Webflow doesn’t have to mean losing SEO rankings or starting from scratch. With the right process and attention to detail, you can move your site safely—and come out the other side with a faster, more modern, and more manageable platform.
Webflow gives you the performance, design freedom, and CMS power today’s businesses need to grow online. And once you’ve made the switch, you’ll wonder why you waited so long.
Ready to migrate your site? Get in touch and I’ll help you transition to Webflow—without losing visibility or momentum.
About The Author
Amine Damir is a Webflow Expert and founder of UpflowAgency.com, a conversion-focused Webflow agency. With years of experience building fast, scalable websites for startups, tech companies, and agencies, Amine combines clean UI/UX with SEO-driven development. He writes to share what actually works — from Webflow best practices to CRO, performance, and beyond.
Related Articles

The Real Cost of Bad Webflow Development (And How to Avoid It)

Expert Guide to Building Scalable Web Apps with Webflow & Next.js
How to Plan and Structure a High-Converting Website in 2025